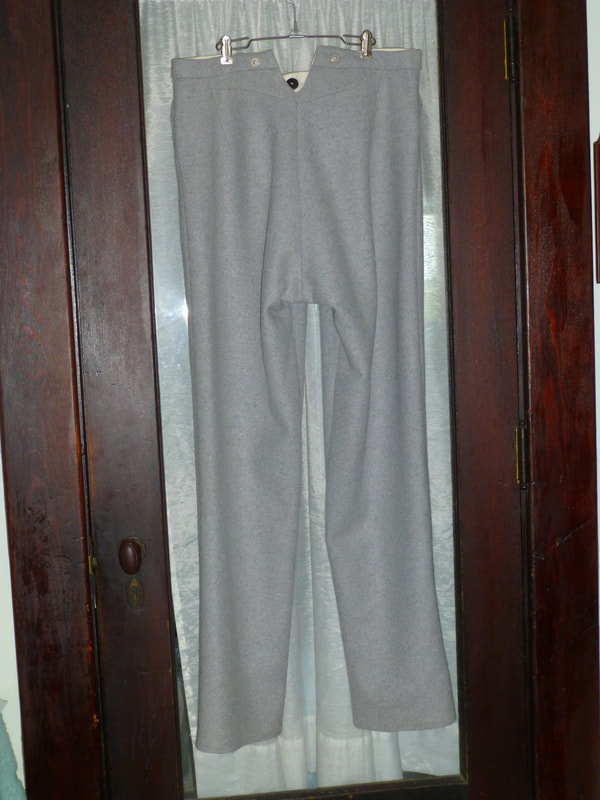
A reenacting friend ordered a new pair of uniform pants--the criteria: wool and medium gray.
After poking around, I think I got the best price on gray wool as anywhere from Period Fabric. (I suspect I will purchase from them again.)
After poking around, I think I got the best price on gray wool as anywhere from Period Fabric. (I suspect I will purchase from them again.)
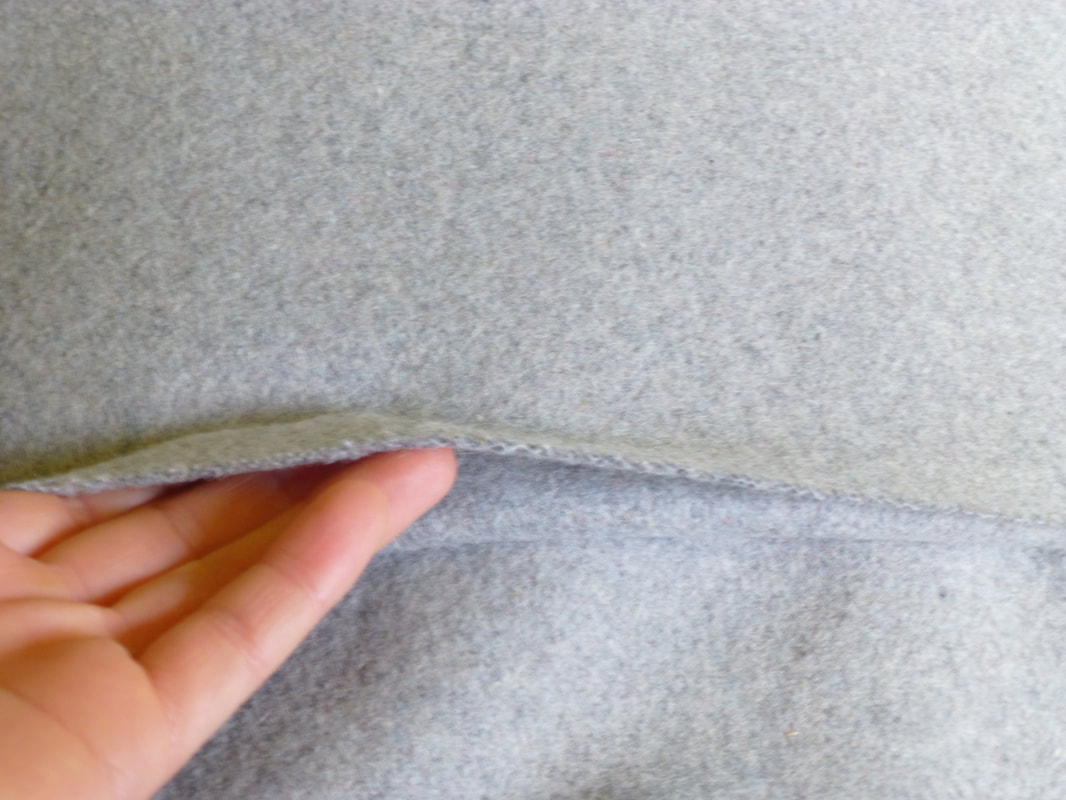
Coating weight. Frequently used for reenactor's trousers, I discovered that the britches were often of a lighter weight material than this...
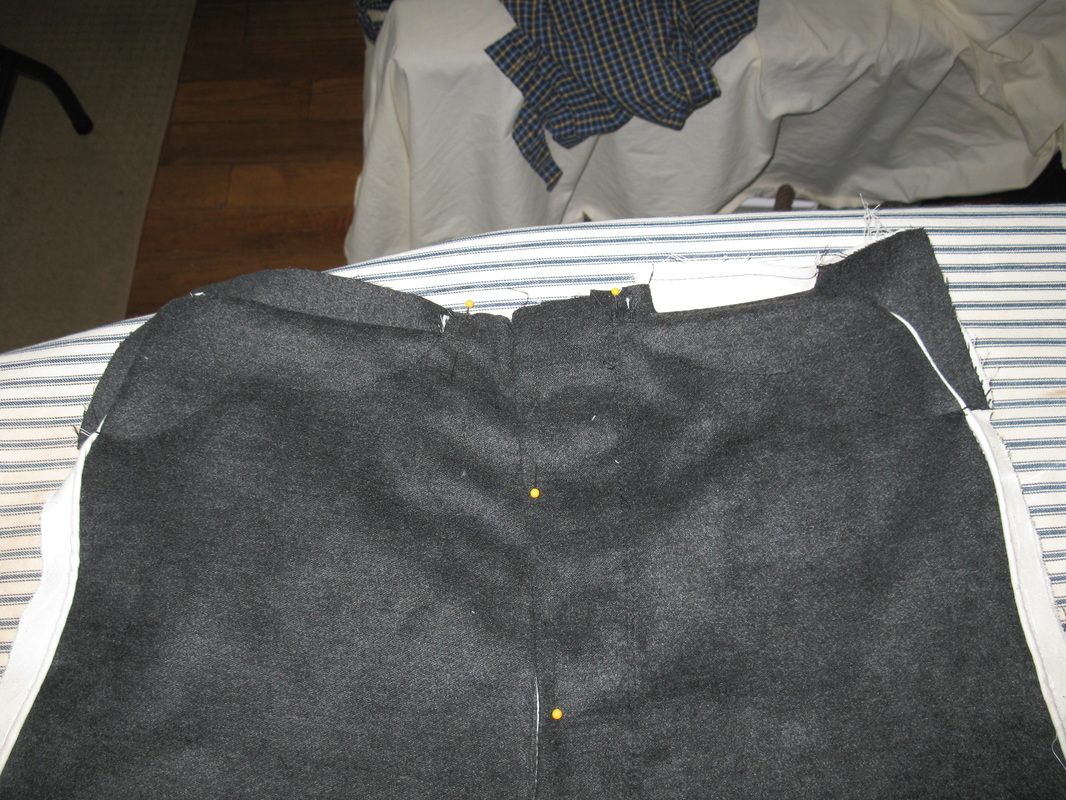
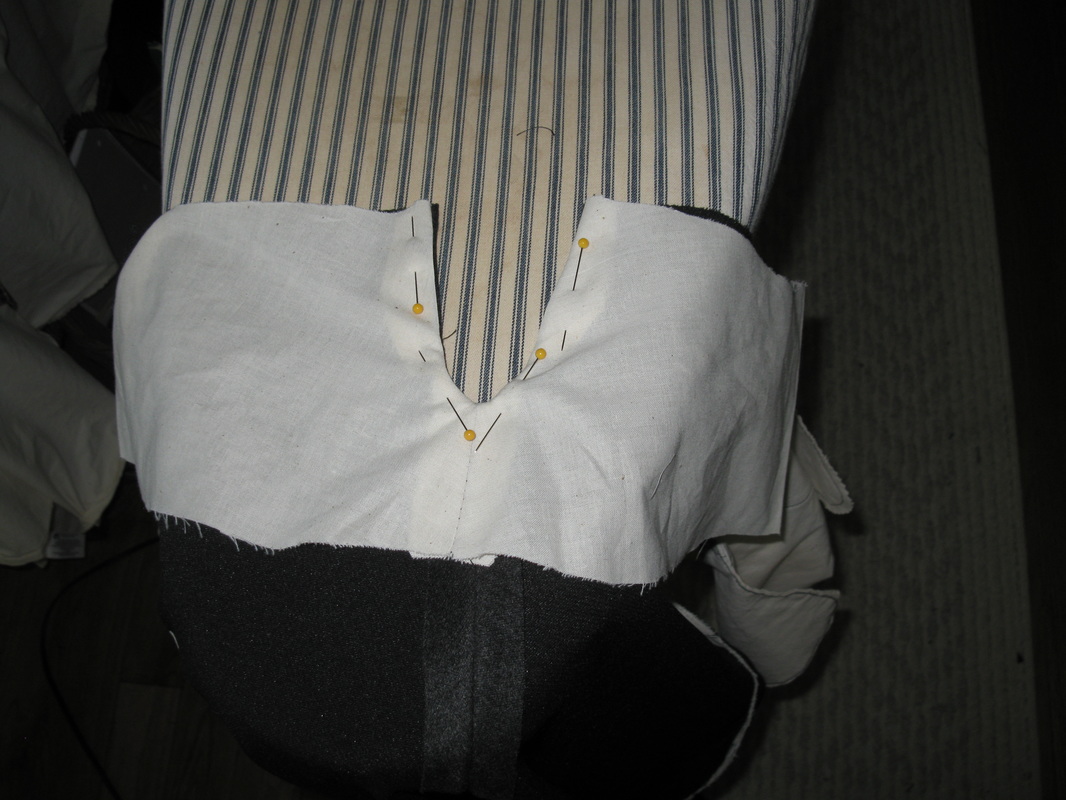
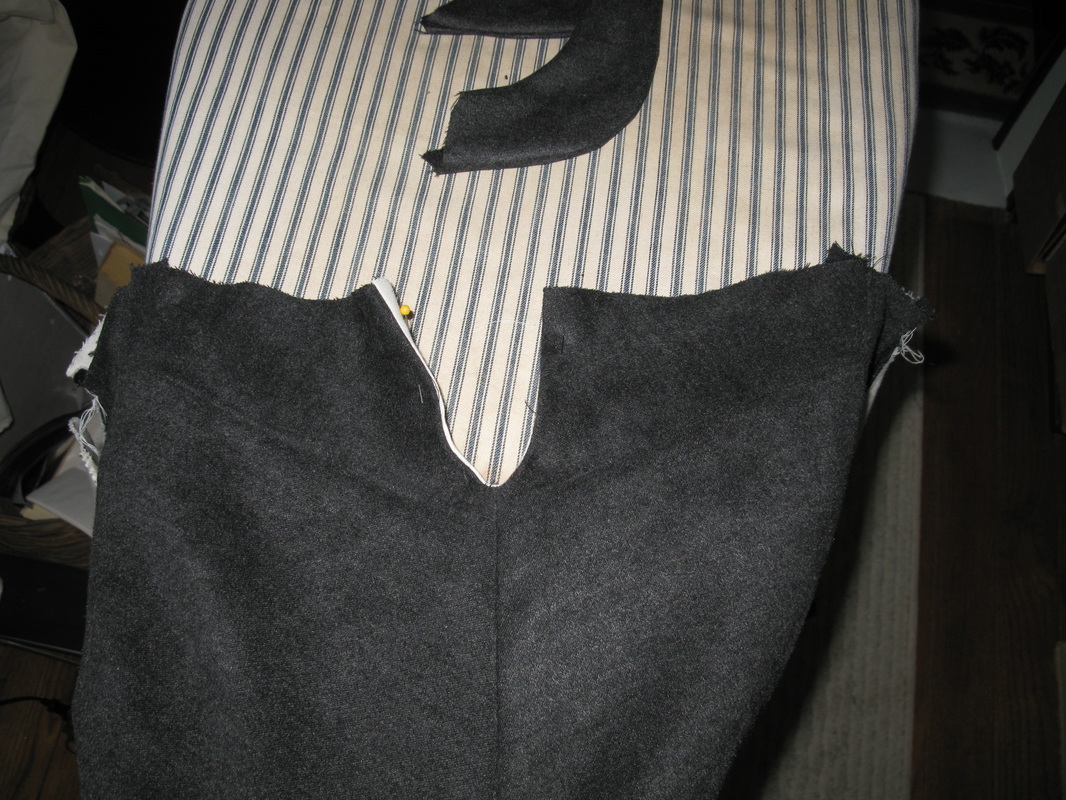
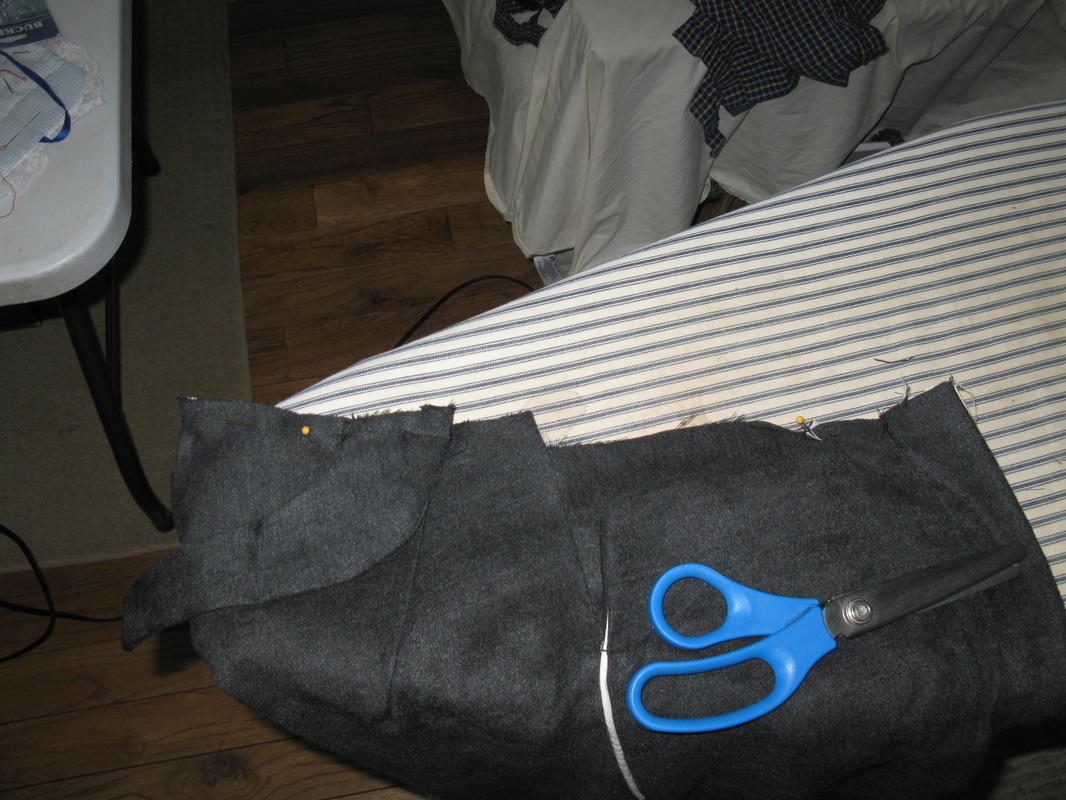
With the arrival of the material, I set to work--double checking all my measurements and things. Since 19th century trousers fit different than modern pants, I had a little stress on this front (note to self--next time making period correct trousers, don't worry too much over the gents inseam length, but stick to his outseam length! Much more helpful in these circumstances.)
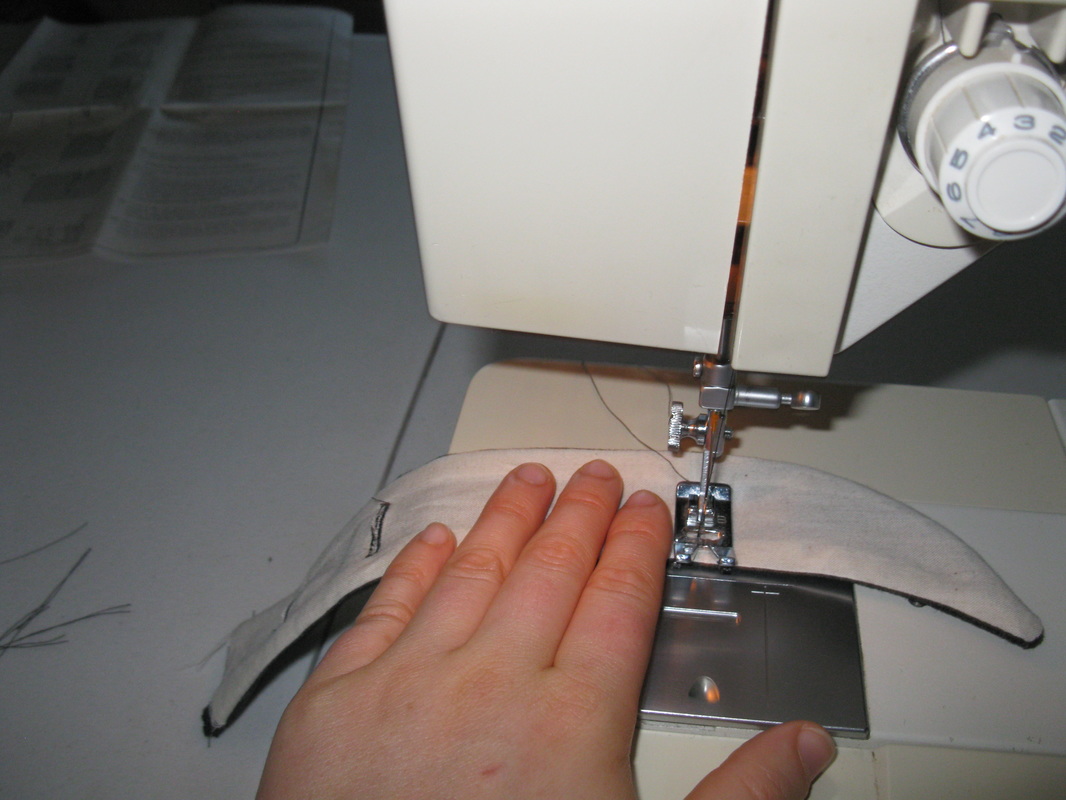
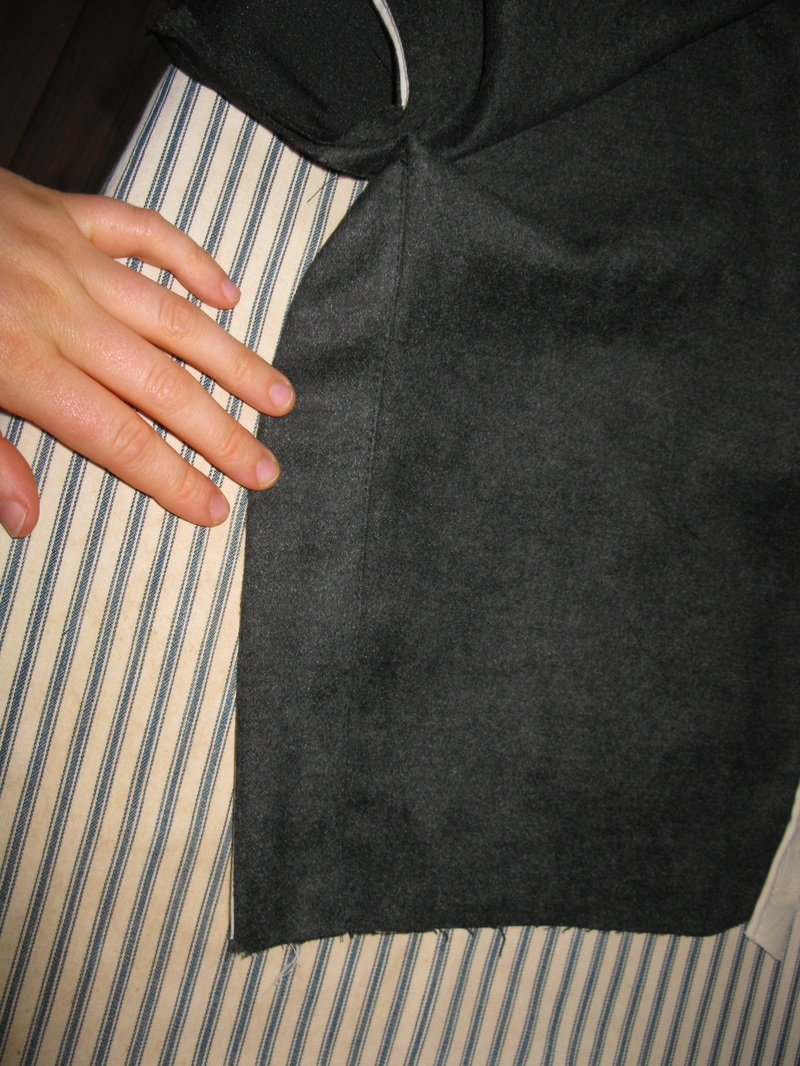
Things went together pretty smoothly for the main part and I really enjoyed working with the material:
Things went together pretty smoothly for the main part and I really enjoyed working with the material:
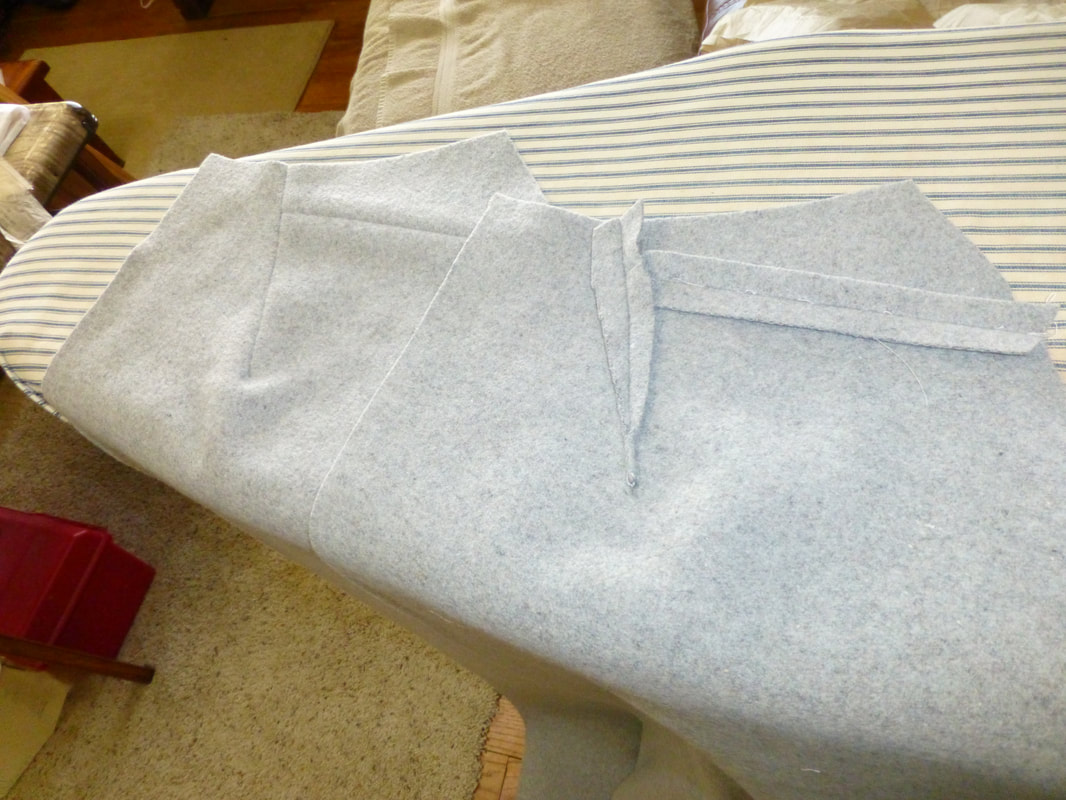
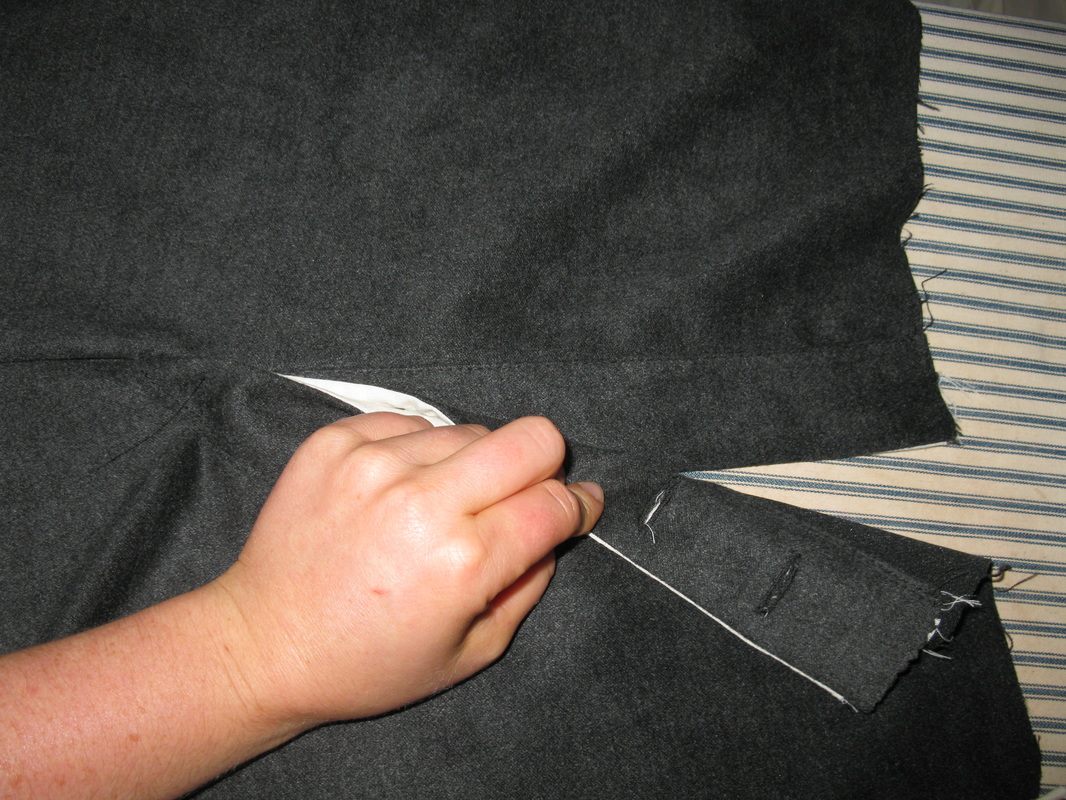
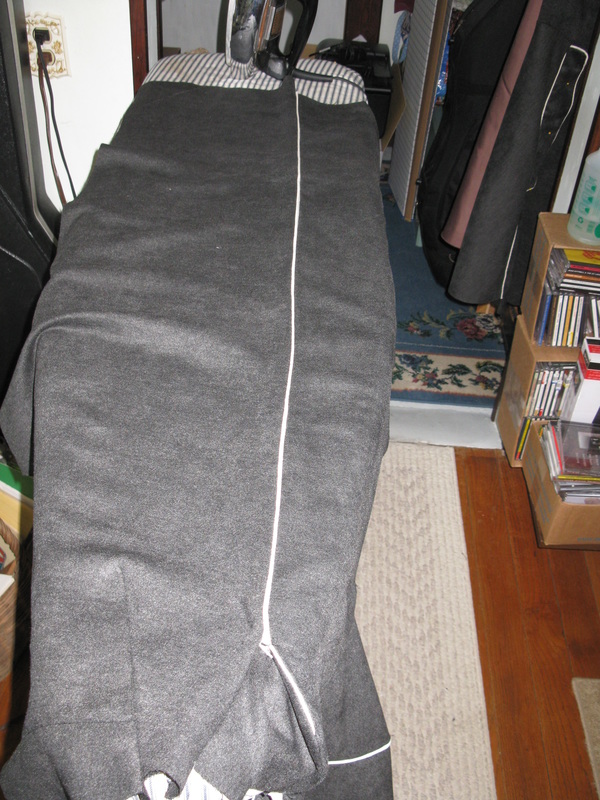
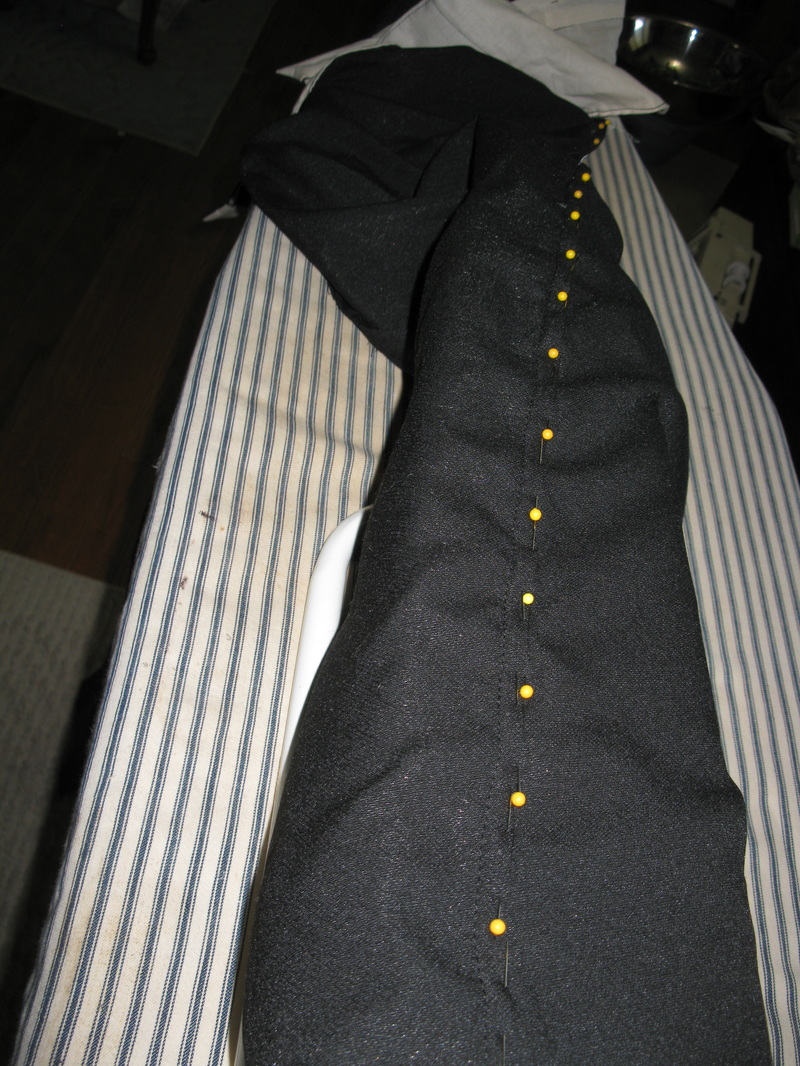
Nice crisp seams--required some steaming which I confess I was a little leery over since I know heat makes wool shrink.
This was pretty much a one-day project:
 |  |
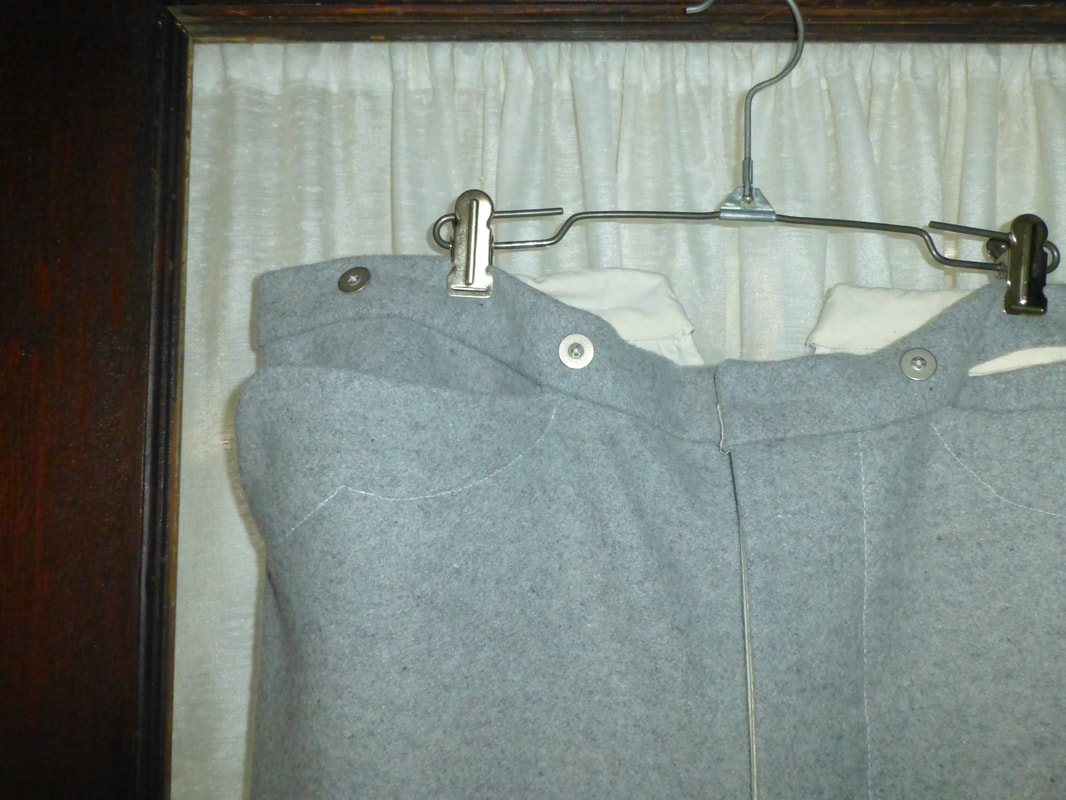
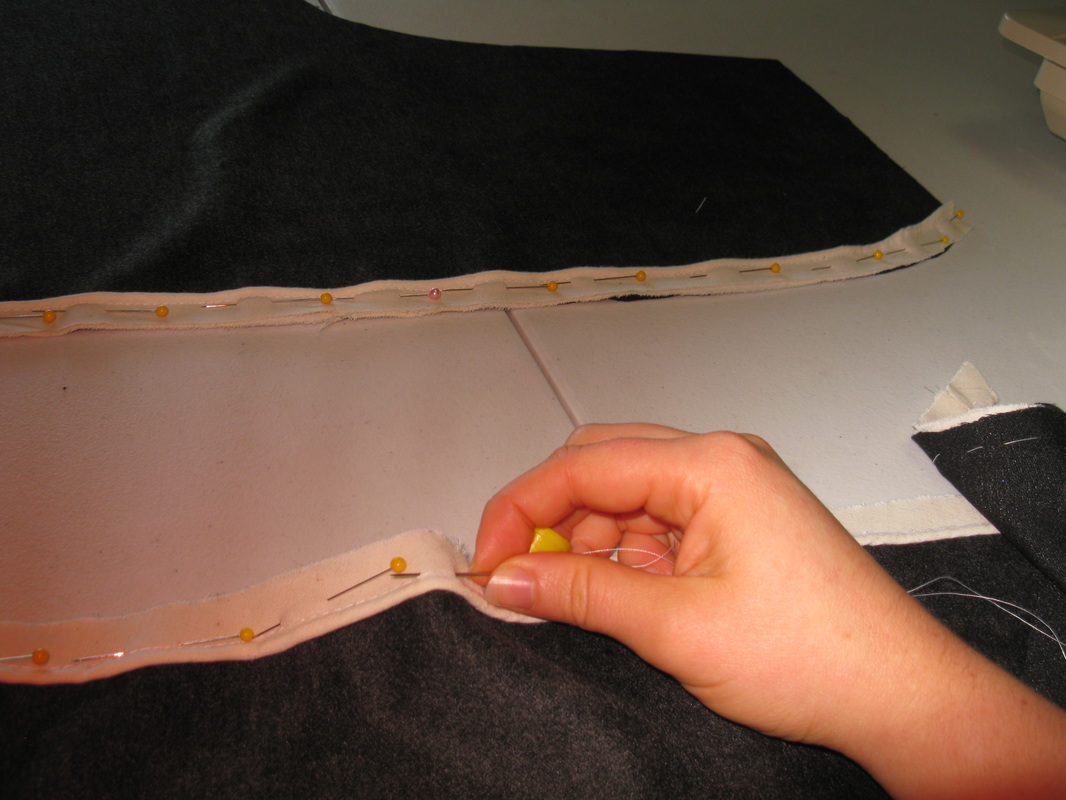
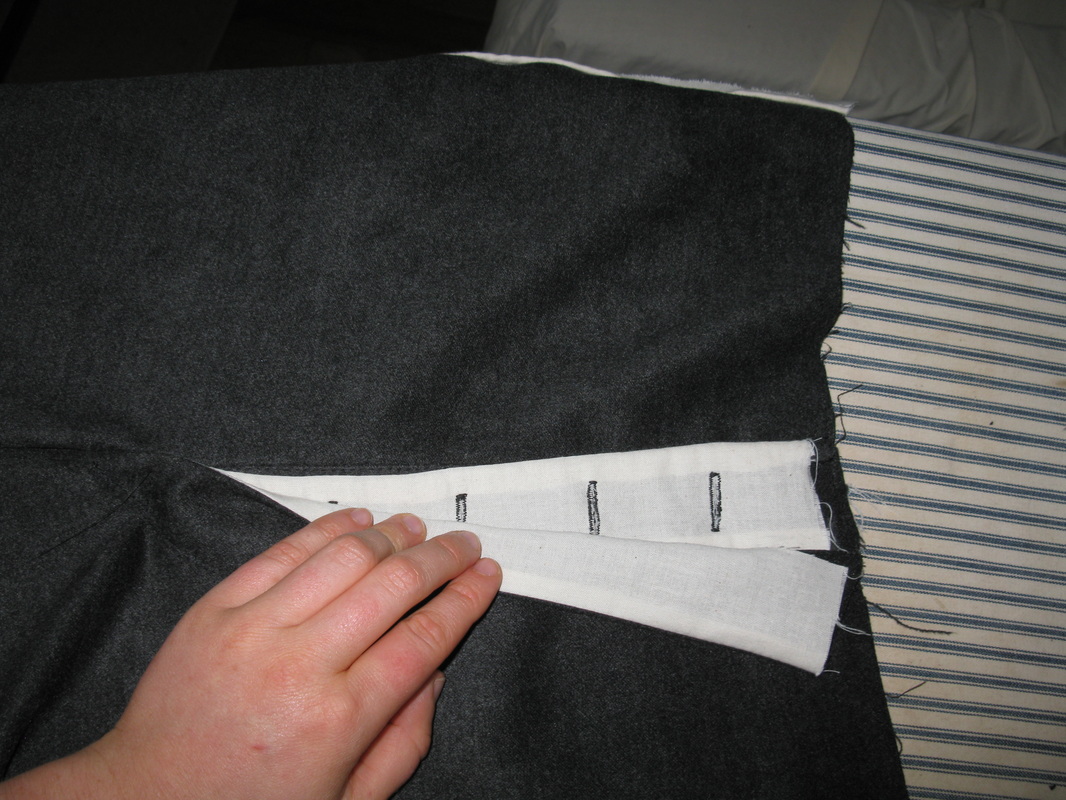
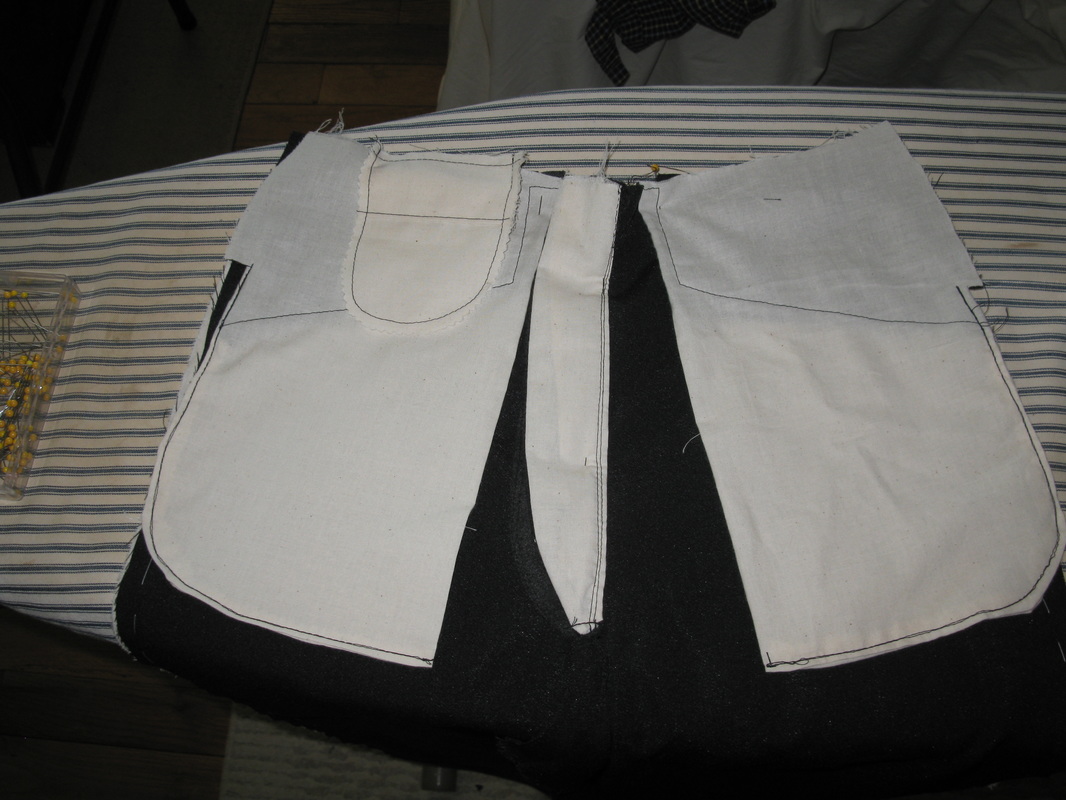
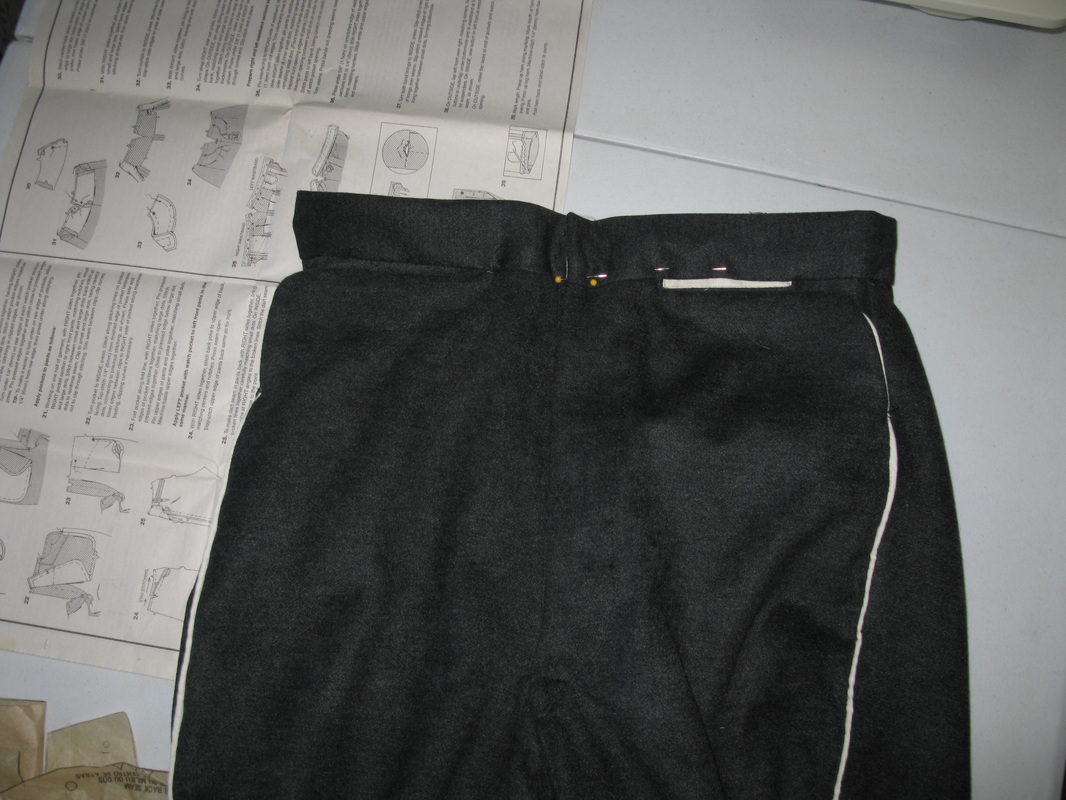
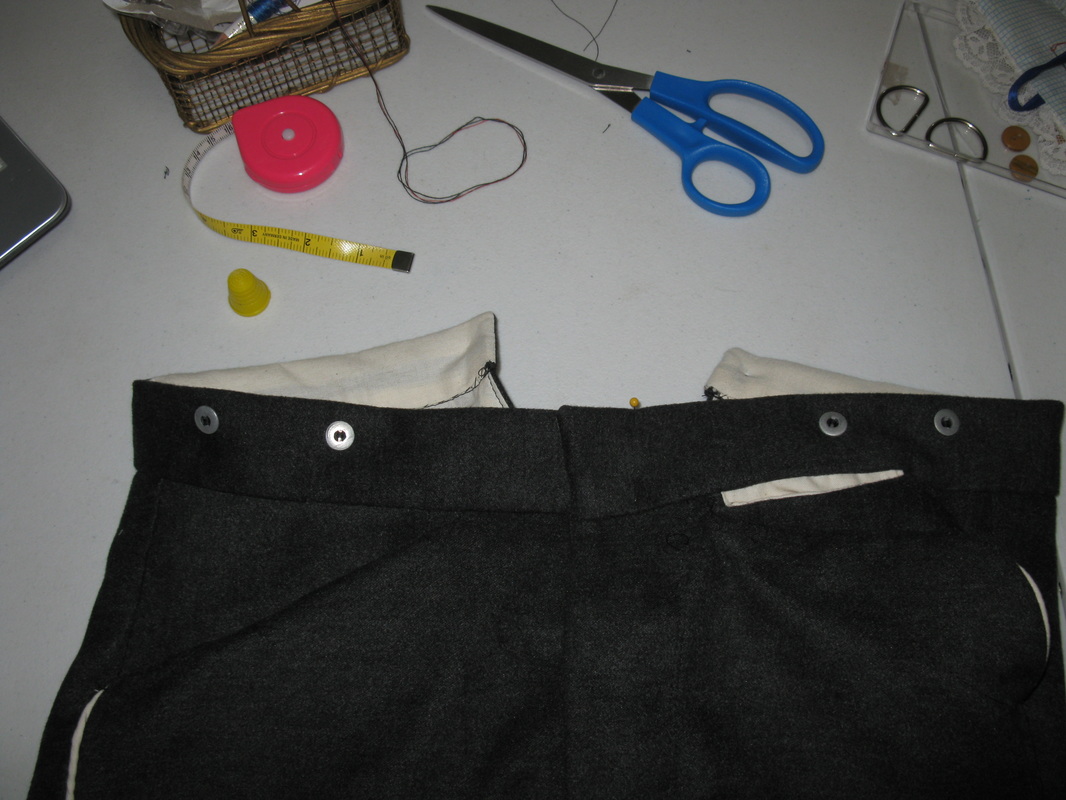
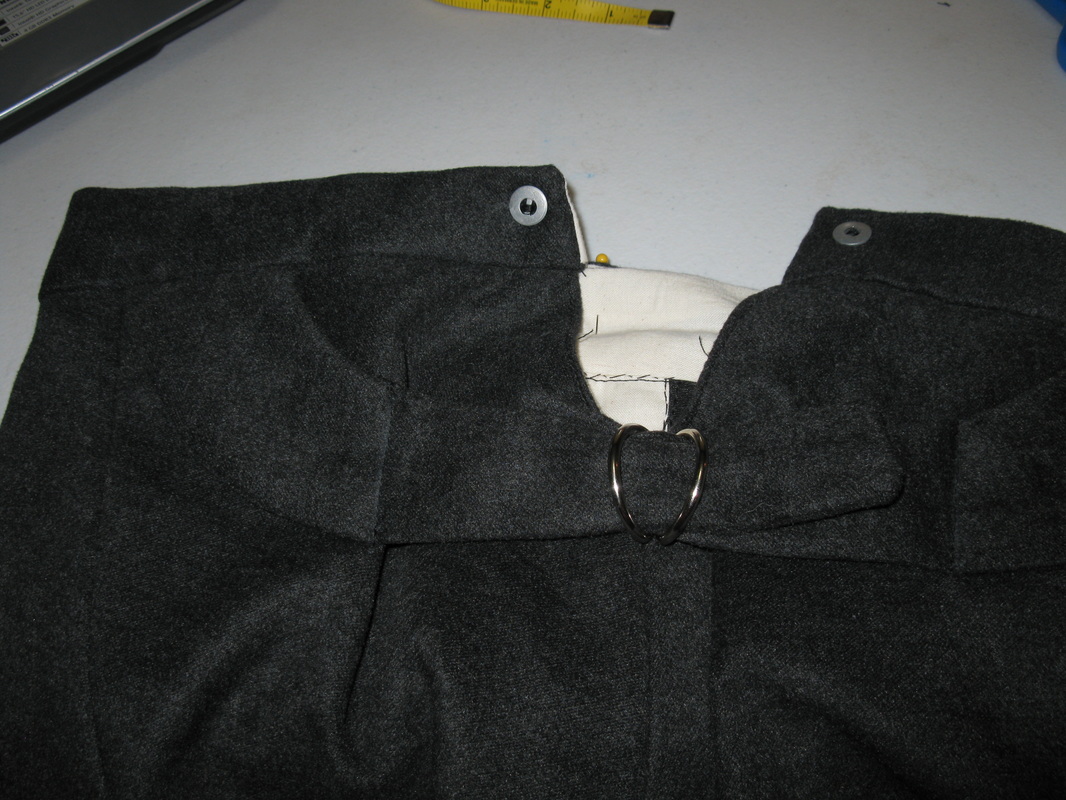
Mule ear pockets--and the stitching details. (I did it on the machine since his vest was going to cover them up.)
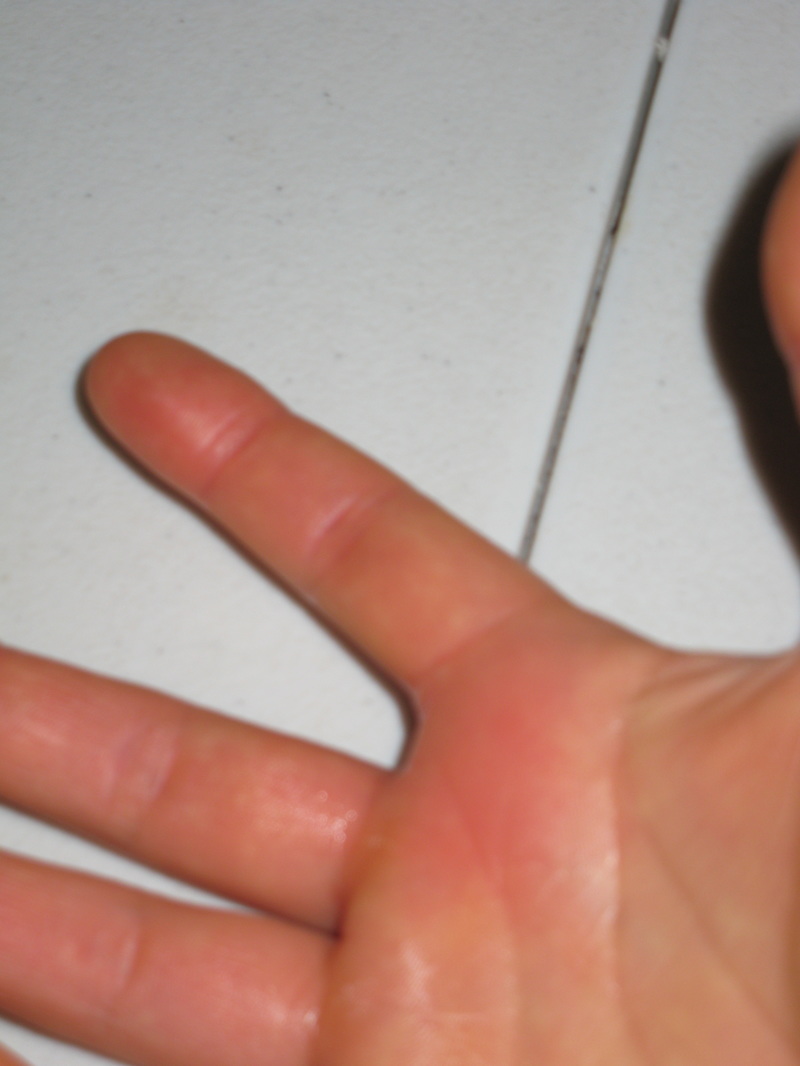
I purposefully left these a little long since I wasn't completely confident in my measurements, so it wasn't a surprise when Josh tried them on and it became quite obvious they need to be shorted. So, I fixed them up and finished them there at the reenactment--including using a fire-heated sad iron for the first time in my life!
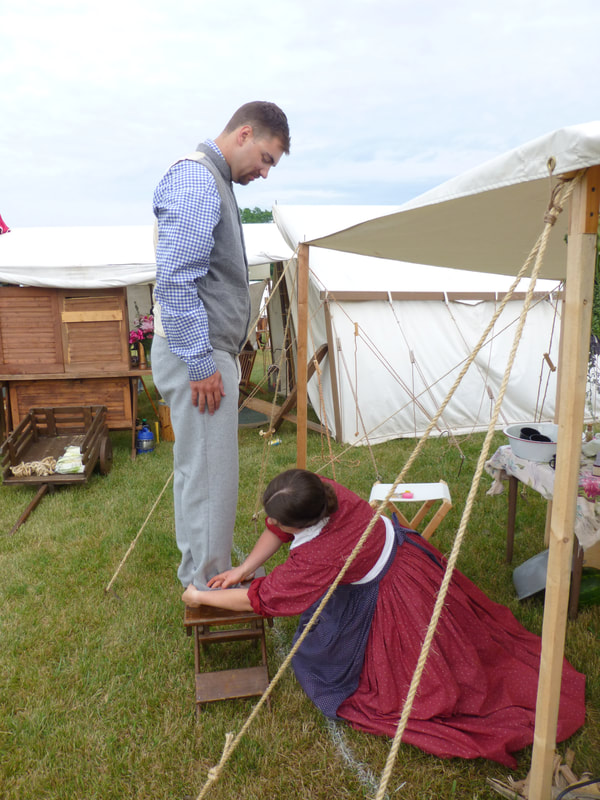
Borrowed the neighbor's stool...
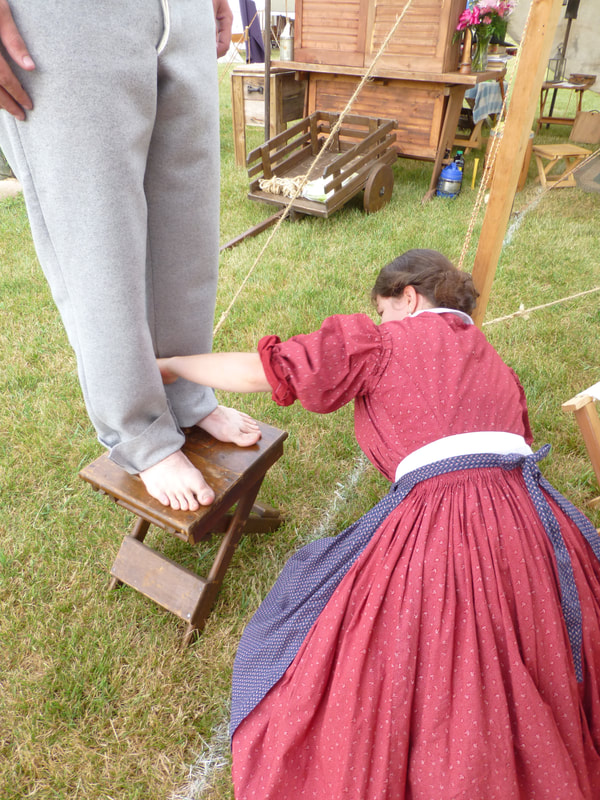
Bonus shot of a hoop skirt in action.
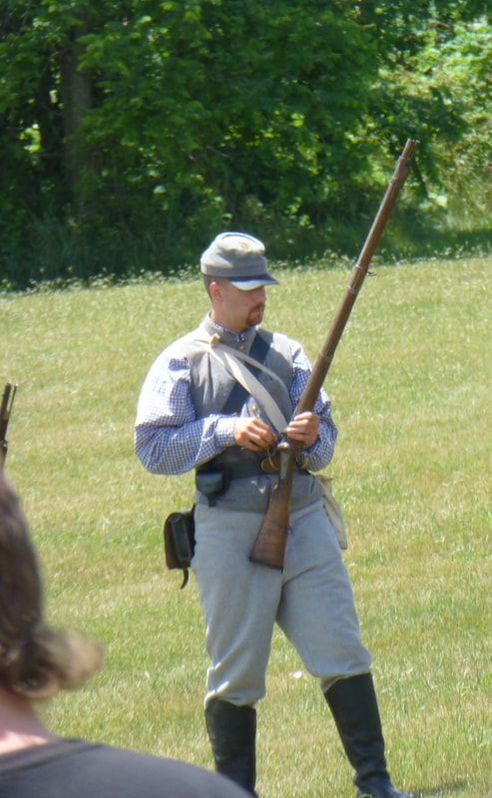
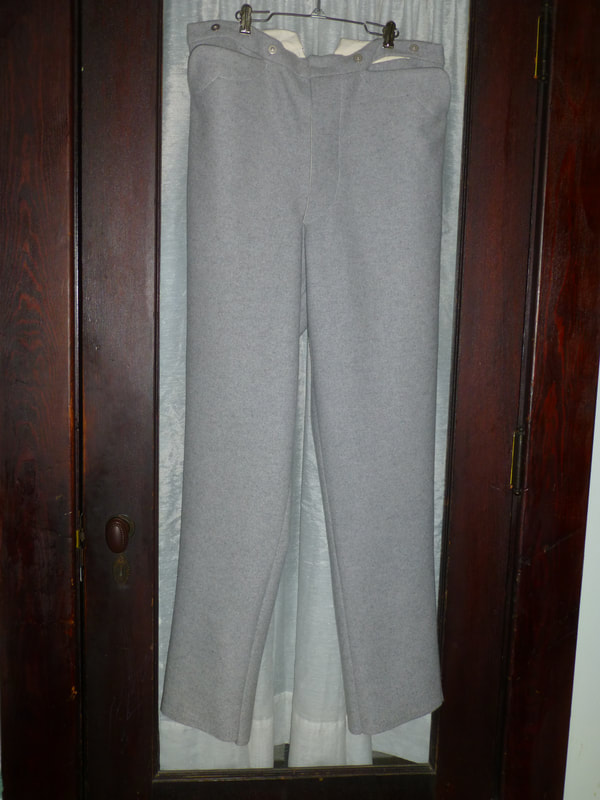
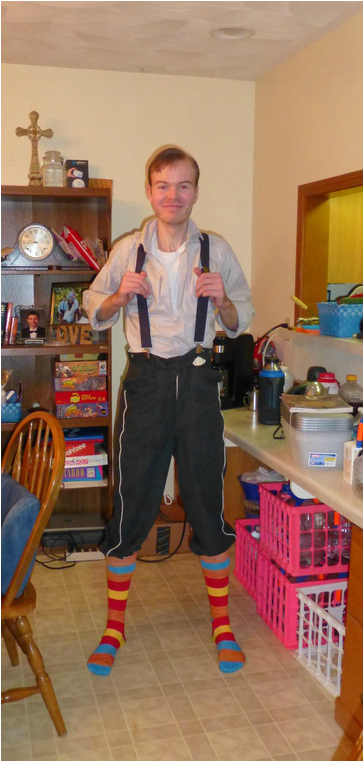
The trouser's in action.


 RSS Feed