This was a real easy little project: I took my waist measurement, added about two inches in length and cut out a roughly four inch wide piece of black Kona cotton (I got Kona, despite the extra price because it's heavier and I figured I want a belt to stand up to some wear and tear and buckle changes).
I confess I did little to no research on this particular aspect of wardrobe building beyond noticing belts on dresses. This was a real easy little project: I took my waist measurement, added about two inches in length and cut out a roughly four inch wide piece of black Kona cotton (I got Kona, despite the extra price because it's heavier and I figured I want a belt to stand up to some wear and tear and buckle changes). 
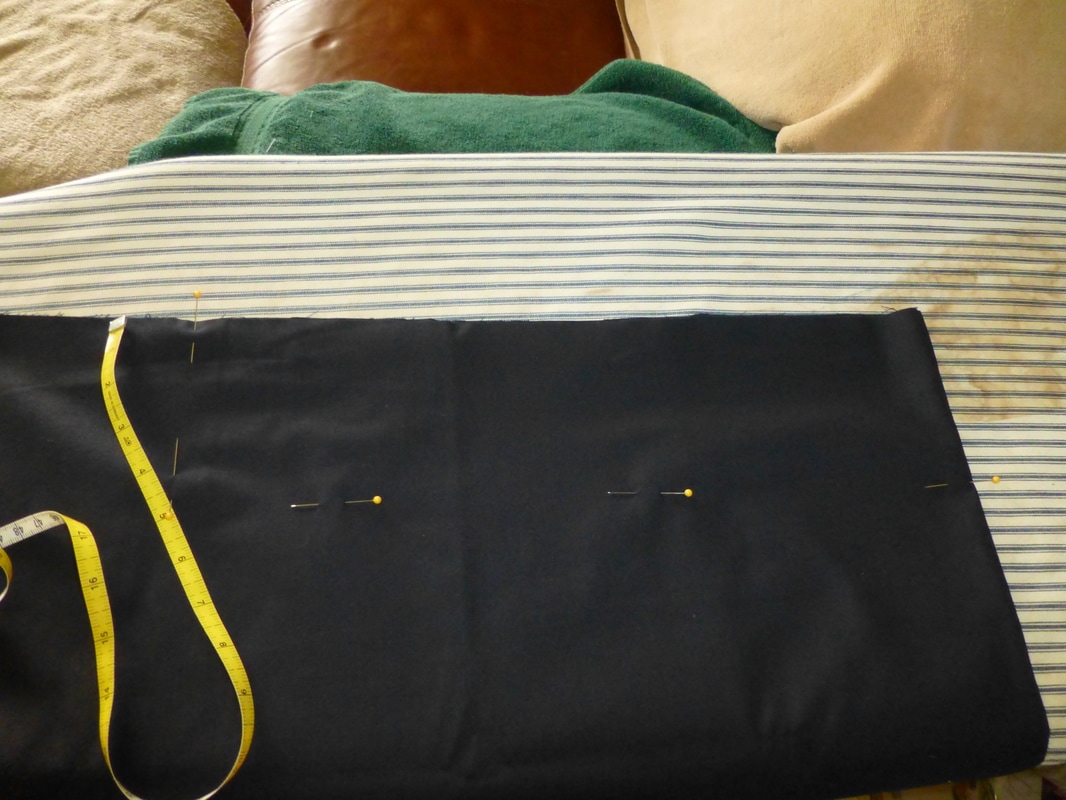
Digging around I found some stiff facing fabric and cut out a shorter and narrower piece of that which I stuck in the center and then ironed the cotton down and around it. 
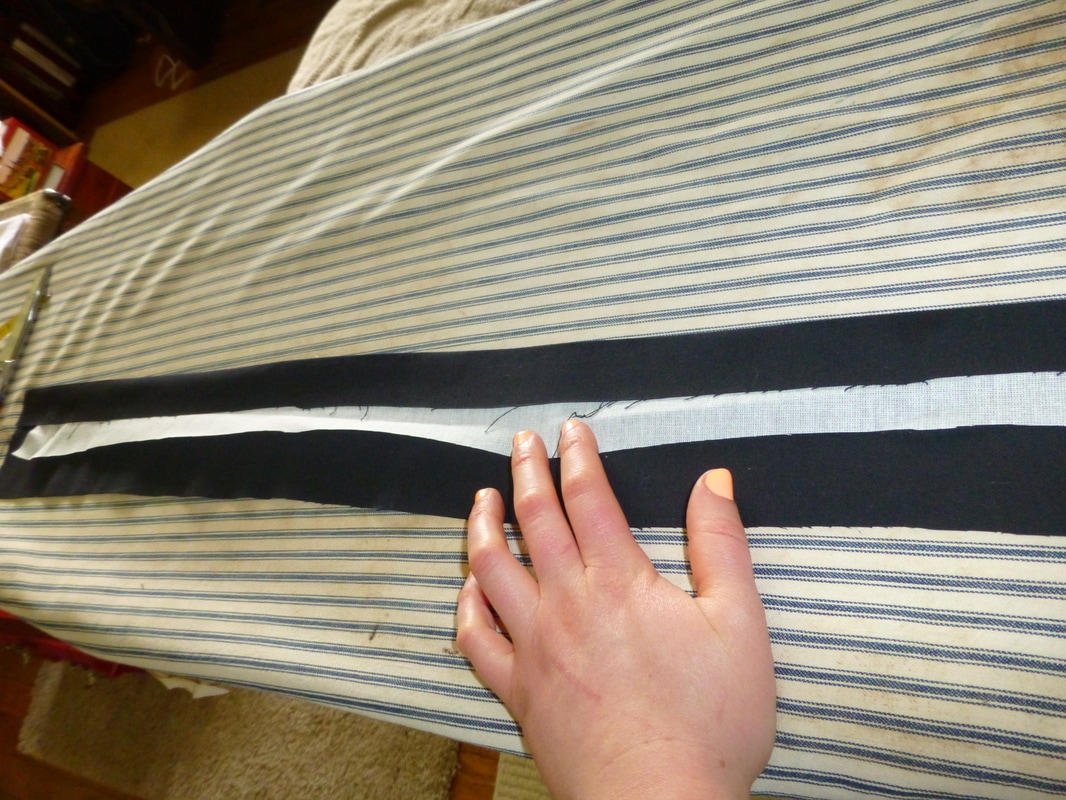
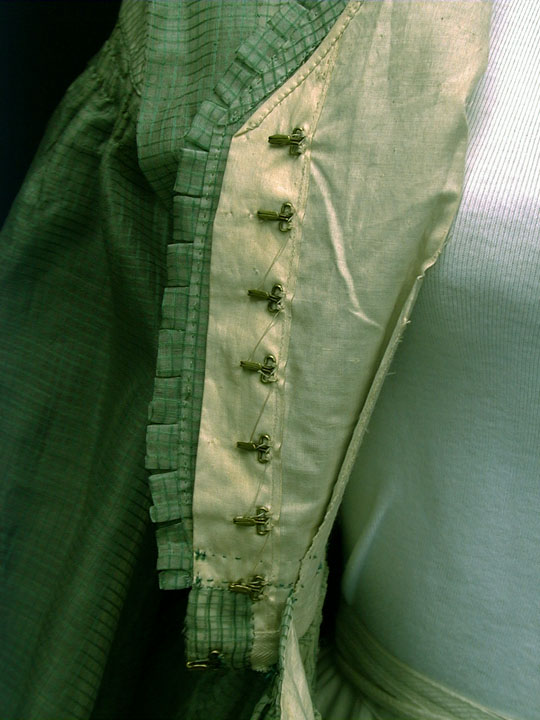
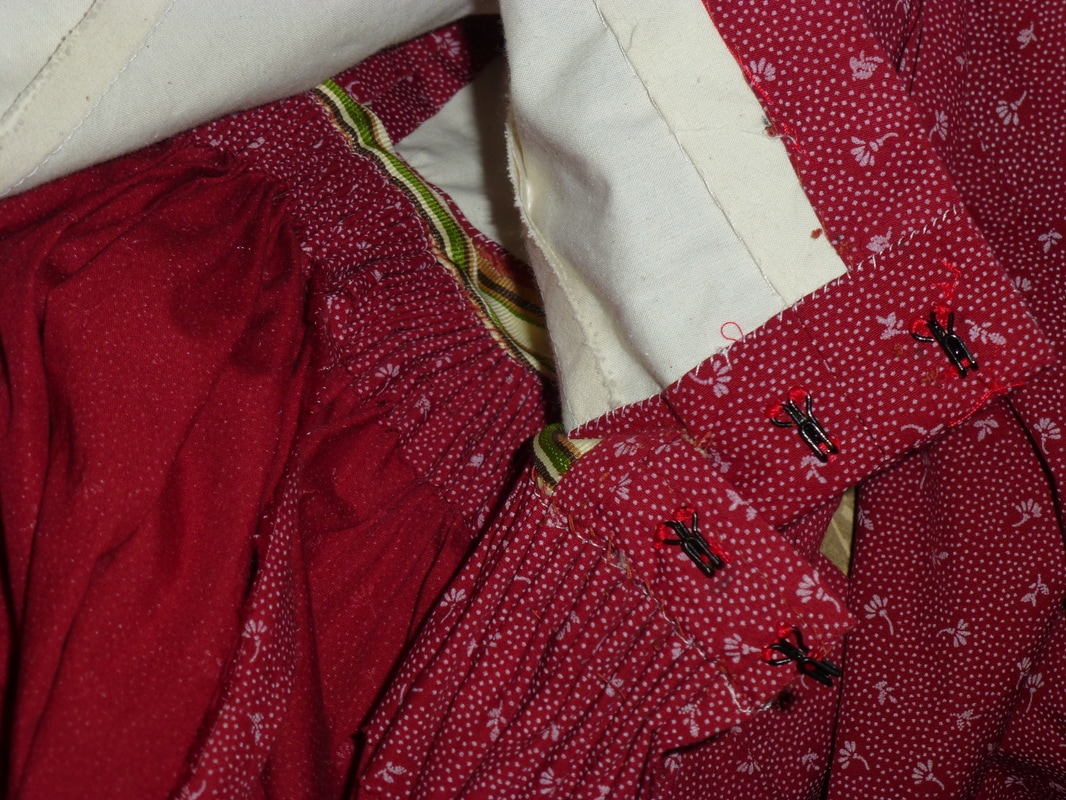
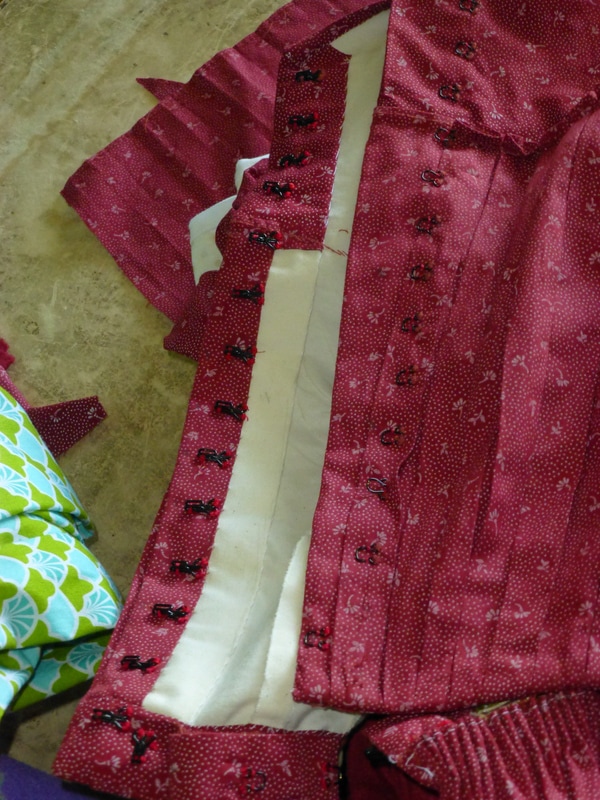
Using a spritzer bottle and a hot iron, I ironed the edges down til I got them to the nearly 2" width I wanted and then proceeded to whip-stitch the edges. Once I was done with that, I figured out the placement for the thread loops (I did a couple of "racks" to give me some shifting room since that is one of my problems. Some days I'm thicker waisted than others....), stitched them on and then sewed the hooks on. 
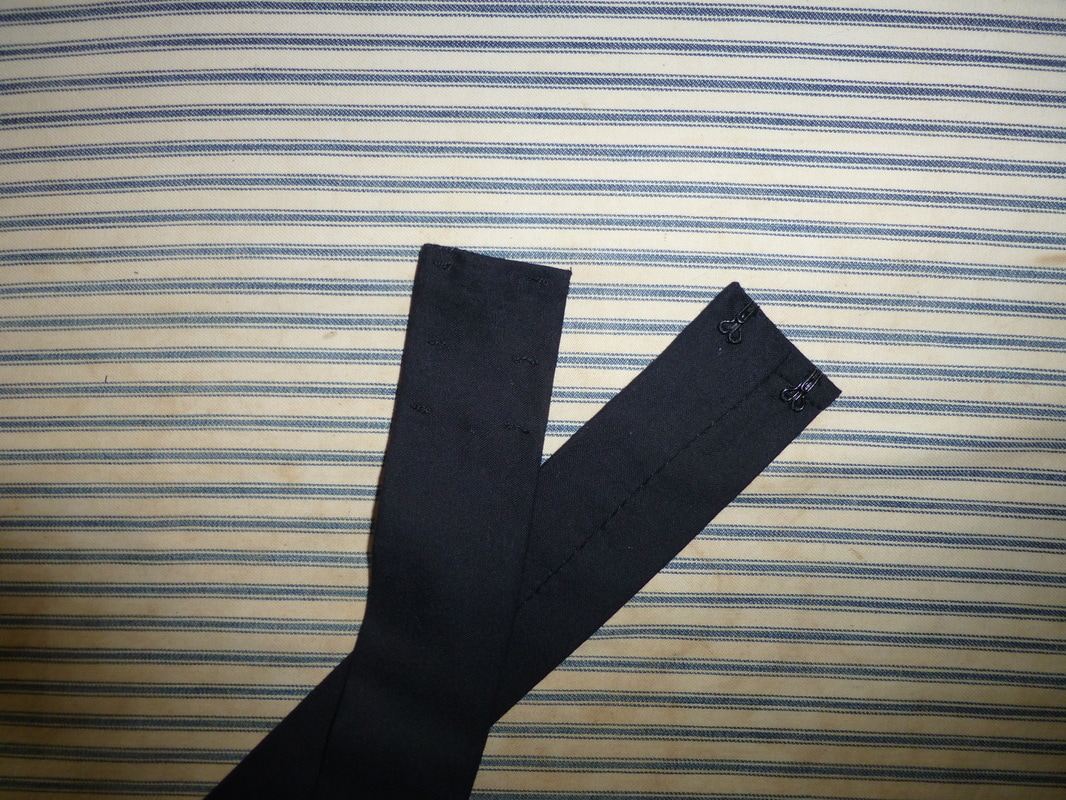
Done! Except to put the belt buckle on. I plan on getting a second one soon--with bees on it! (I would direct you to the gentleman who makes' these Etsy shop, only he has nothing up at the moment.
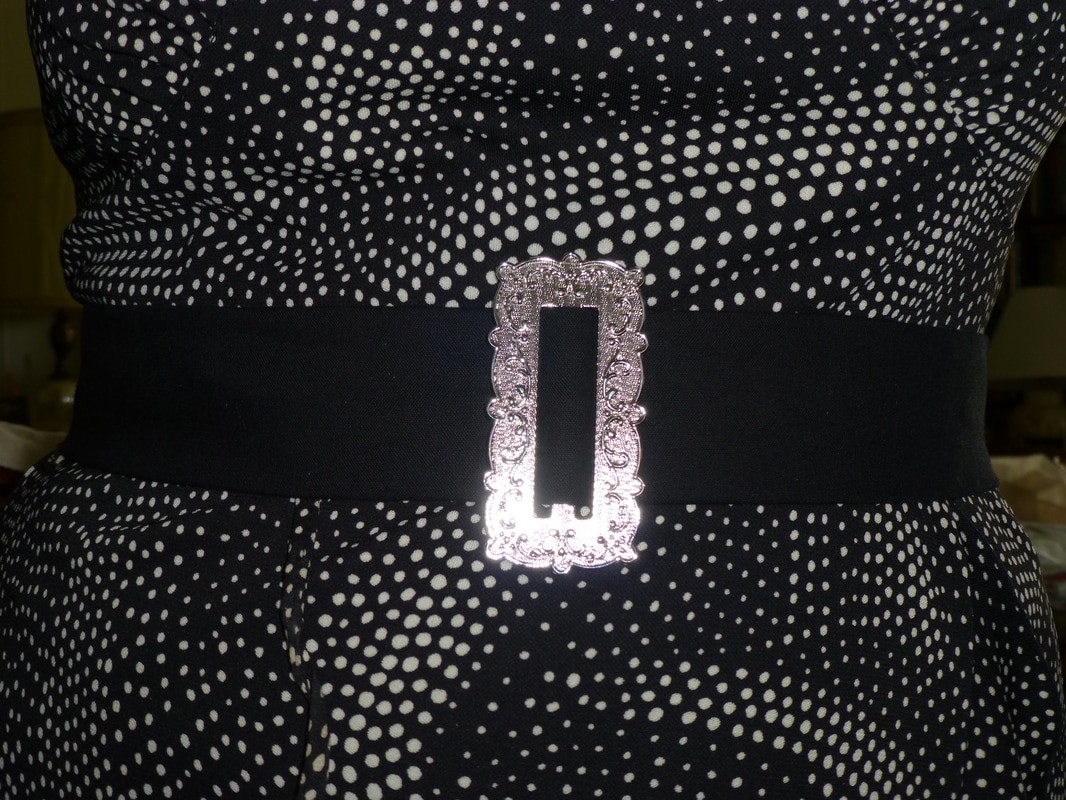
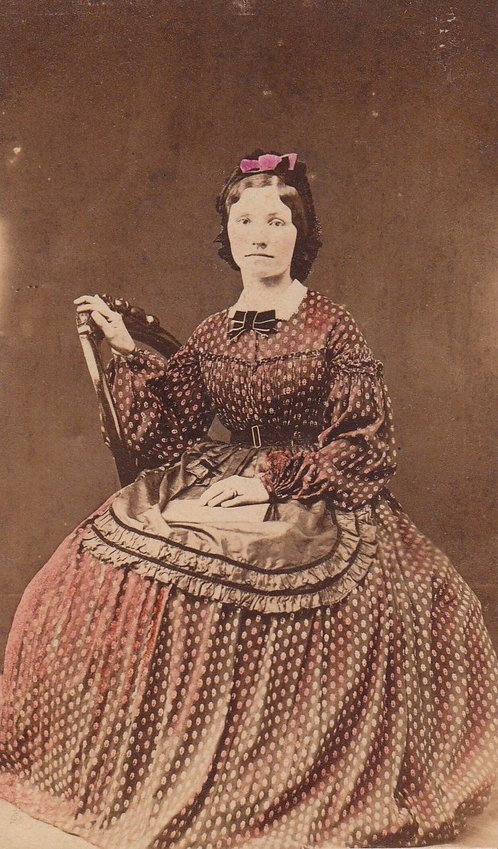
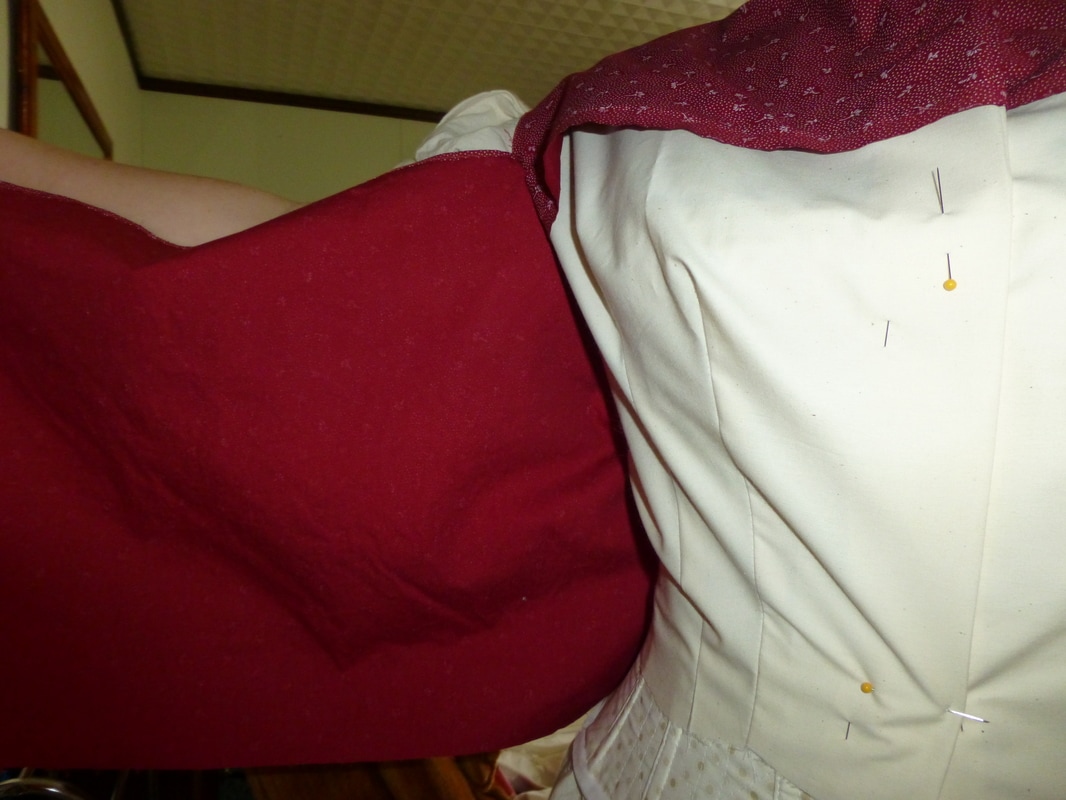
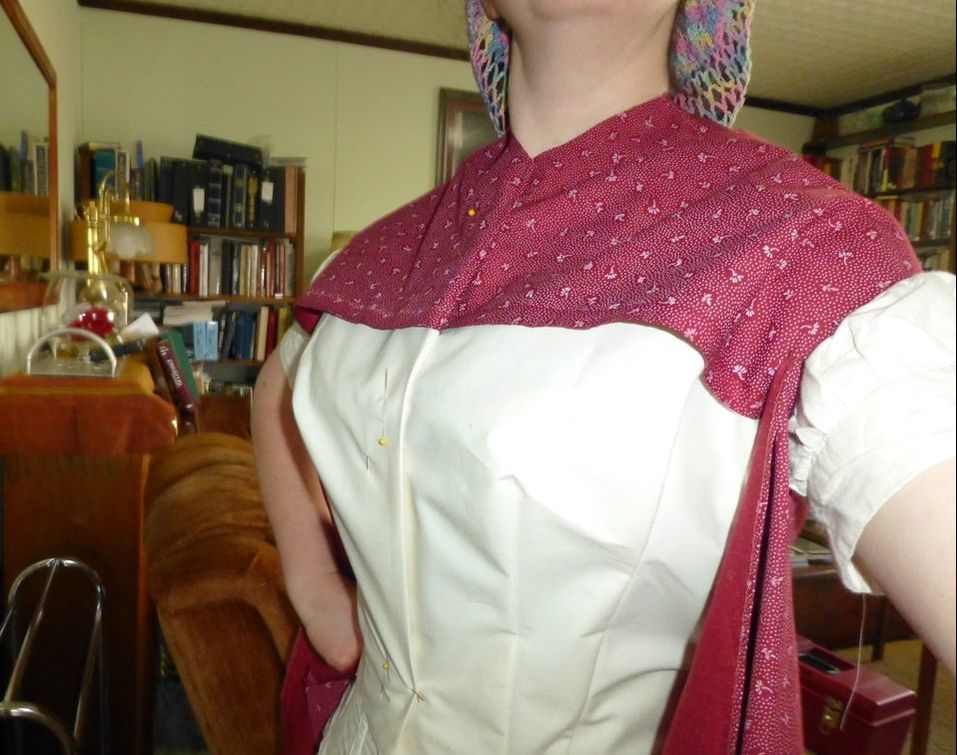
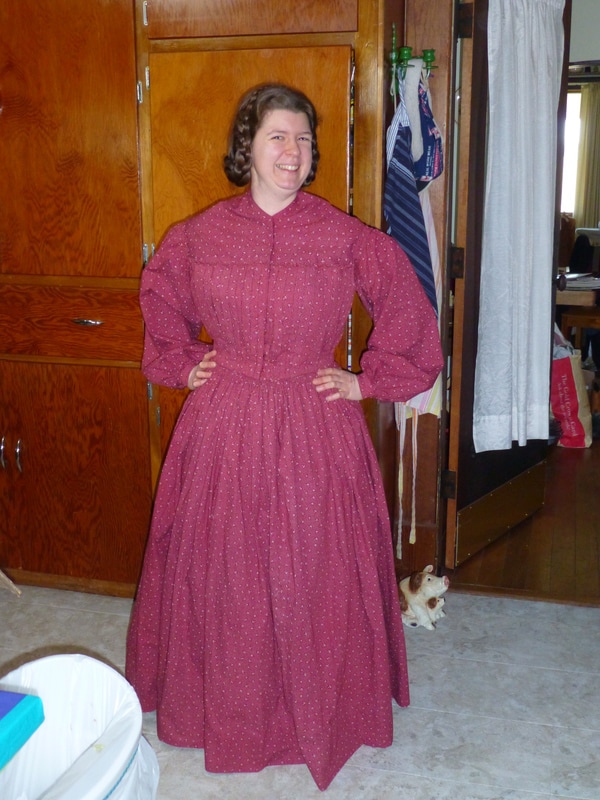
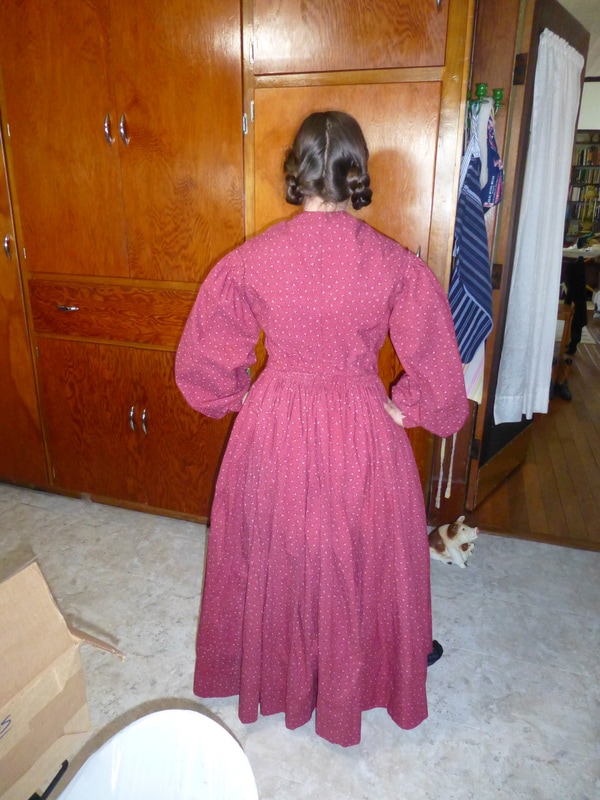
0 Comments
One thing every well dress lady from the 1860's needed was a nice collar...or two...or three. Ahem. Anyway, I have a couple of crocheted collars and while they are permissible, I wanted a fabric collar to go with my red dress. (I have this gorgeous collar my sister made me for Christmas, but it's practically a buff colour which I don't think would go well with the shade of this dress.) I lengthened the pattern a little and it appears that maybe I shouldn't have...but it's too late now. During the period, women tacked their collars on--and removed them when laundering their clothing. I have been highly resistant to the idea, but I think I may just follow the procedure with this garment. ~~Racheal~~I bought eight or so yards of red cotton with a white printed flower motif last March. It was the day we picked up my soon-to-be (then) brother-in-law from the airport. We were offically bridesmaid dress material shopping, but I was after material for a new 1860's dress as well--and I didn't want blue this time for whatever reason! Anyway, I selected the material...and months later while scrounging Pinterest, I discovered what I wanted to do with--exactly. As you will see, my version doesn't look 100% like the above dress...but I made it as close as I could get it without being able to actually have my hands on the dress in the photograph. :) This photo and 60 Civil War-Era Fashion Patterns by Kristina Seleshanko were my two main resources. This dress took me roughly a month to make (for various reasons). I self-drafted the pattern (I'm getting semi-decent at this, I think): I made a small alteration by way of removing a little extra from the back seams and right under the arms. Other than that, it was pretty much good--I thought. I purposely left it a little extra wide in the front. The underbodice/lining was made from a good stiff heavy muslin. Because I am attempting to go "more authentic" I did all the visible stitching by hand--starting with the outer bodice/overlay hem: There were two of these: I sewed the side-seams into the regular bodice side seams...looked rather like I had a built in stole! :D That length of material (both sides) got pleated across the front, like this: I managed to squeeze about 45" of material across one bodice panel. After sewing it down I spent a decent amount of time ironing my pleats down...and then I tried it on. I'm not sure how well you can tell, but there was entirely too much extra material around the waist and bunched under the arms. My purpose (okay, desire) is and was not to look fat or horsey. Even without the sleeves, that extra material was not only unflattering, but uncomfortable! I took it off and stewed on it a bit...maybe even over the weekend (I can't remember exactly). Anyway, I arrived at the following conclusions:
Suffice to say, it isn't perfect, but it most certainly helped! I cut some material out of the back, a good 3 inches off the front under the arm, and cut side back pieces. Once I got that all stitched up, I was relieved to find that the fit was far more comfortable and snug. More like it was supposed to be. I worked the pleating material different this time as well. To begin with, I didn't sew it into the under arm seam, but over it. I started the pleats while the bodice was laying on the ironing board, but finished them with the bodice pinned to myself (rather, my underpinnings!) I was pleasantly surprised that I only managed to stab myself maybe half a dozen times over the next couple of hours. I did one side in this fashion then stitched the pleats down both top and bottom before I went and did the other. I got a jolly neck ache from all that pinning while being my own dress-form, but in the end it was worth it because I was able to get things the first time on this second go-round. To use my grandma's phrase, I "whacked" the excess material off before settling in (the next day) to give the pleats a serious pressing (water squirt bottles are most definitely a seamstress' friend!) Being satisfied enough with this set of pleats (I think they could look better), I moved on to neck binding and waistband. I decided against putting a visible waistband on, so tucked it completely to the inside. I intend to wear a belt with this dress, so it is of very little difference and not all dresses had visible waistbands. The sleeves were next. I "zooped" those up (that's a Grandpa word there) and soon had them attached. I ended up taking almost another seam allowance width out of the armscyes because they were binding. If Racheal cannot move her arms, she's a grouch. It was a quick fix and while not entirely uninhibiting of motion, I can now lift my arms beyond just under shoulder height. I made one main mistake with the sleeves. When I measured for my wrist circumference, I measured the one that has only had one bone broken instead of the one that has had two bones broken. In other words, the skinnier wrist. (That is a nearly 1/4" difference!) The cuffs are a wee bit snug--and if I was constrained to closing them with buttons I would have had to rip them out. As is, I'm planning on using hook and eyes and so get maximum length out of those cuffs. That concluded the bodice construction with the exception of hook and eyes. As much as I say I hate hook and eyes, I determined that I was going to use them on this dress. I have been looking at interior details as much as possible on Pinterest and have discovered that their hook and eye set up was actually half-way sensible--See what I mean? I actually moved onto the skirt before sewing on the hook and eyes..... At first, I planned on doing things my normal way--get the whole thing put together (skirt to bodice) and them hem things, but as I got to reading on a blog post on how to do a dog-leg closure, I saw where the author referred to hemming her skirt before she pleated the skirt. So...I decided to give it a go...I made a roughly 5 inch hem (if I remember correctly now) because deep hems help with the skirt hanging nicely. It really did work well, I think. Once that was done, I measured...and measured...and measured to get the length(s) right. My hemline varies from .5" to 1" so I tried to get the variances fairly even. Then, following the directions of the tutorial I was attempting to use, I ran a seam along the top of the skirt where I had folded it over: Then followed what was probably the most tedious part of the job--marking the pleats. Stitching them took quite a long time too, but it was at least a little more interesting than marking dots on the material. :D I didn't get any in progress pictures after that one, but the next step was the actual pleating and attaching to the waistband--which ended up looking something like this: I had a few hang up--such as finding that I had actually pulled the pleats too tight so I had to loosen them...that meant ripping some of them out and re-stitching. I would by no means recommend that! I also added a slight length to the waistband. I put all the hooks and eyes on...only to discover that I had to rip all the hooks off because they weren't set deep enough to cover the eyes entirely! That was a booger. Maybe I will remember next time I use hooks and eyes to really get that placement stuff perfect the first time. I rather haphazardly figured out the places I needed to stick them along the waist band and bottom of the bodice to hold the skirt up in the front rather than sagging.... Anyway...I got it done! I still have to make a black cloth belt to go with it, but the dress itself is complete. If I were rating my work with 5 star being "the best", I would put this at about a 4 I think due to a number of errors and the fact that my dog-leg closure is weak--but at least it's a dog leg! Alright, so you want to see it on me, I know.... ;) It may actually be long enough for me to put over my yet-to-be made (small) hoop...I'd like that. :) ~~Racheal~~ |
Archives
April 2021
Categories
All
Projected Projects: |